How to Publish an Android App on Google Play Store
Google Play publishing is no longer an "upload an APK and click publish" flow. For a modern React Native app, you need a signed Android App Bundle, a complete Play Console setup, accurate privacy declarations, current target API support, testing tracks, and a production rollout plan.
If you are preparing an Instamobile React Native app for release, finish the React Native App Release Checklist first, then use this guide for the Google Play-specific submission work.
Quick Answer
To publish an Android app on Google Play:
- Create a Google Play Developer account.
- Create the app in Play Console and reserve the package name.
- Configure Play App Signing.
- Build a signed Android App Bundle (
.aab), not an APK-first release. - Complete Store Listing, App Content, Data Safety, privacy policy, content rating, ads, target audience, and permissions declarations.
- Upload the app bundle to an internal, closed, open, or production track.
- Test the release build on real devices.
- Fix Play Console warnings and submit for review.
- Roll out gradually and monitor crashes, reviews, and policy messages.
APK files are still useful for some local testing flows, but Google Play uses
Android App Bundles to generate optimized APKs for user devices. Treat the
.aab as your store artifact.
Before You Open Play Console
Do the technical release work before filling out the store forms. Store review is slower when the build identity, privacy declarations, or backend behavior keeps changing.
For current Instamobile React Native apps, start from the app's documented baseline and the Current React Native Stack:
- TypeScript source;
- Yarn through Corepack;
- the React Native and Android SDK versions declared by the app;
- Expo modules where included;
- Firebase config files from your own Firebase project;
- production Firebase rules, indexes, Functions, and secrets where relevant.
Review the exact app package first. The app's package.json, yarn.lock,
android/gradle.properties, android/app/build.gradle, and included README are
the source of truth for that project.
Run the app checks from the app folder:
corepack enable
corepack yarn install --immutable
corepack yarn typecheck
corepack yarn react-native config
corepack yarn android
Then verify the Google Play release checklist:
| Area | What to confirm |
|---|---|
| App identity | Application ID/package name, app name, icon, splash screen, version name, version code. |
| Backend | Production Firebase config, rules, indexes, App Check where supported, Functions secrets. |
| Permissions | Android permissions match actual product behavior. Remove unused permissions. |
| Payments | In-app purchases, subscriptions, Stripe, or external payment flows comply with store rules. |
| Push | Firebase Messaging works in a release build on a real Android device. |
| Privacy | Privacy policy and Data Safety answers match real SDK behavior. |
| QA | Login, media upload, chat/feed, maps, payments, and push pass where the app includes them. |
Use the shared React Native release checklist for the full cross-platform gate.
Mega Bundle Sale is ON! Get ALL of our React Native codebases at 90% OFF discount 🔥
Get the Mega BundleStep 1. Create a Google Play Developer Account
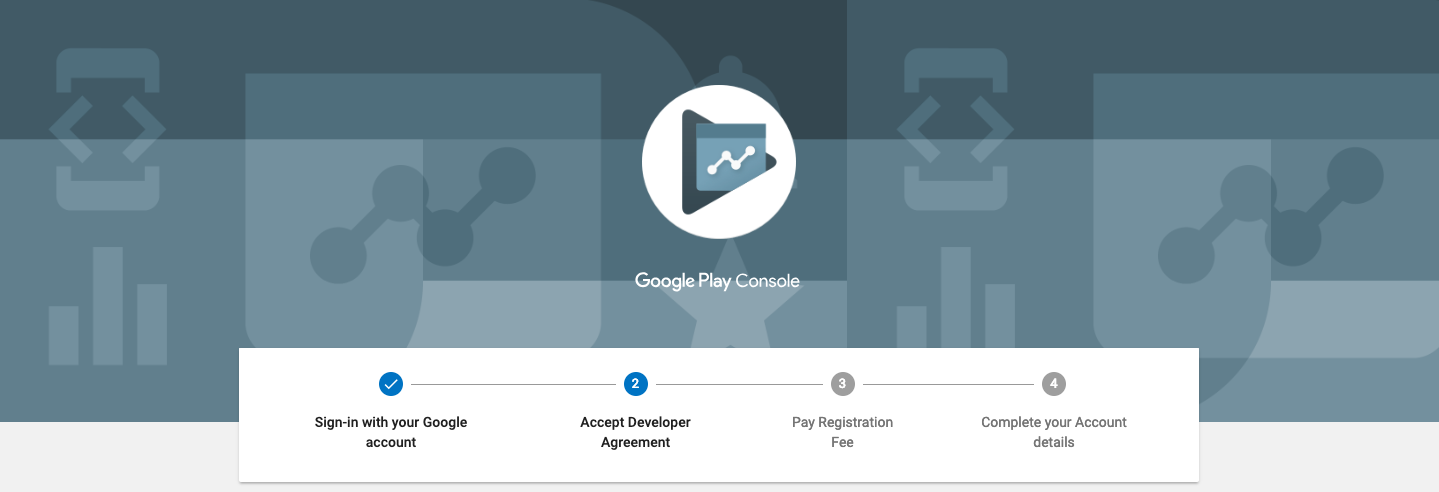
Create or sign in to your Google Play Developer account at Google Play Console. Use the legal owner of the app, not a throwaway personal account. Store access, payments, policy notices, and recovery all depend on this account.
Before you create the app, decide:
- the public developer name;
- support email and support website;
- legal business details;
- whether the app will be free or paid;
- who will receive Play Console policy and release notifications;
- who owns the upload key and release signing process.
Keep at least two trusted admin users on the account. Losing access to the only admin account is a release risk.
Step 2. Create the App and Lock the Package Name
In Play Console, create the app from Home > Create app. Choose the default language, app name, app/game type, free/paid state, contact email, and required declarations.
The package name is permanent. For React Native, it maps to the Android application ID, usually a reverse-domain value such as:
com.yourcompany.yourapp
Do not publish a client app with a demo package name from a template. After
changing the application ID, update Firebase Android app registration and
download a fresh google-services.json.
Step 3. Configure Play App Signing
Google Play uses Play App Signing for modern releases. You upload a signed Android App Bundle with your upload key, and Google signs the optimized APKs served to users with the app signing key.
Your operational checklist:
- generate and store the upload keystore securely;
- keep keystore passwords out of Git;
- place signing values in local Gradle properties or CI secrets;
- document who can rotate the upload key;
- never commit
*.keystore, service account JSON files, or passwords.
A typical React Native Android release build is:
cd android
./gradlew bundleRelease
The generated store artifact is usually:
android/app/build/outputs/bundle/release/app-release.aab
If your app has product flavors, use the matching release task from that app's README or Gradle project.
Step 4. Prepare the Store Listing
The store listing is not just marketing copy. It is part of conversion, support, trust, and review readiness.
Prepare:
- app name;
- short description;
- full description;
- app icon;
- feature graphic;
- phone screenshots;
- tablet screenshots if applicable;
- optional promo video;
- category and tags;
- support email;
- support website;
- privacy policy URL.
Write the first lines of the description for a real buyer or user, not for a keyword list. Mention the core problem, the main workflow, and the outcome. Keep claims specific and defensible.
For Instamobile-based projects, replace all demo screenshots and demo copy with the customer's real product positioning before submission.
Step 5. Complete App Content and Privacy Forms
Most review delays happen in the App content area. Complete it before you push to production.
Check these forms carefully:
| Play Console area | Why it matters |
|---|---|
| Privacy policy | Required for apps that collect personal or sensitive data, and often expected for any production app. |
| Data Safety | Must describe data collection, sharing, security practices, and third-party SDK behavior accurately. |
| App access | Required if reviewers need credentials or instructions to enter the app. |
| Ads | Declare whether the app contains ads. |
| Content rating | Required before distribution. |
| Target audience | Important for family, children, education, and mixed-audience apps. |
| Permissions declaration | Required for sensitive permissions and restricted APIs. |
| Financial features | Required when payments, subscriptions, crypto, loans, or financial services are present. |
Do not copy another app's Data Safety answers. Audit the actual app:
- Firebase Auth providers;
- Firestore and Storage usage;
- Firebase Analytics, Crashlytics, Messaging, and App Check;
- payment SDKs;
- maps/location SDKs;
- chat, media upload, contacts, camera, microphone, and notification flows;
- third-party analytics, attribution, support, and marketing SDKs.
Google's Data Safety form is global per package. If any active version of the app collects or shares a data type, account for it.
Step 6. Confirm Target API and Native Compatibility
Google Play enforces target API deadlines and updates those requirements over time. Before every submission, check Play Console policy status and the official target API requirements. Treat a low target SDK as a release blocker, not as a warning to handle later.
Instamobile's current React Native baseline is designed for modern Android requirements, but always verify the app's actual Gradle configuration before submission:
cd android
./gradlew :app:dependencies
./gradlew bundleRelease
Also test behavior affected by recent Android platform changes:
- runtime notification permission;
- foreground service behavior;
- media permissions;
- location permission prompts;
- background location restrictions;
- deep links and app links;
- Play Integrity or App Check where used.
Step 7. Upload to a Testing Track First
Do not send the first .aab directly to production unless you already tested
that exact release build.
Use one of these tracks:
| Track | Use it for |
|---|---|
| Internal testing | Fast smoke tests with a small trusted team. |
| Closed testing | QA, client acceptance, and controlled beta testing. |
| Open testing | Public beta with broader feedback. |
| Production | Public release after review and final QA. |
For each release, add clear release notes. They help testers and give your team a clean history of what changed.
Step 8. Review Warnings and Submit
Play Console will show errors and warnings before submission. Treat errors as blockers and warnings as signals to inspect, not as decoration.
Common blockers:
- missing privacy policy;
- incomplete Data Safety form;
- missing content rating;
- package name mismatch;
- version code already used;
- target API too low;
- invalid app bundle signing;
- permissions used without matching declarations;
- login required but no reviewer credentials provided.
When the release is clean, submit it for review. Review timing varies, so avoid scheduling marketing campaigns before the build is approved.
Step 9. Roll Out Gradually
After approval, use a staged rollout unless the app has a very small audience. Start with a small percentage, then increase after monitoring:
- crash-free sessions;
- ANR rate;
- Firebase Crashlytics issues;
- login and purchase errors;
- backend cost changes;
- Play Console vitals;
- user reviews and support tickets.
Have a rollback plan. For native bugs, that means preparing a new app bundle. For JavaScript-only fixes, you may also use an OTA system such as EAS Update, but only for changes compatible with the installed native binary.
Useful Links
- React Native App Release Checklist
- Publish to iOS App Store
- Current React Native Stack
- Google Play: Create and set up your app
- Google Play: Target API level requirements
- Google Play: Data Safety form
Looking for a custom mobile application?
Our team of expert mobile developers can help you build a custom mobile app that meets your specific needs.
Get in TouchFAQ
Do I upload an APK or an AAB to Google Play?
Use an Android App Bundle (.aab) for Google Play releases. APK files are still
useful for some local installs and internal testing workflows, but Google Play
uses app bundles to generate optimized APKs for users.
Can I change the package name after publishing?
No. The Android package name is permanent for that Play listing. Choose the production package name before your first upload.
Do I need a privacy policy if my app does not collect data?
For a production app, you should have one. Google Play's Data Safety flow still expects accurate declarations, and a privacy policy is required in many common cases, including apps that use sensitive permissions or collect personal data.
Should I publish directly to production?
No, not for a serious app. Upload the signed app bundle to an internal or closed testing track first, test the release build, fix Play Console warnings, then promote to production.
Conclusion
Publishing to Google Play is a product release process, not a final upload step. Build the app bundle from a clean React Native project, complete privacy and app content declarations honestly, test the signed build, and roll out gradually.
If you start from an Instamobile React Native template, most of the product surface is already built. Your release work is to replace demo identity, connect your own backend, verify the production flows, and submit a polished app that is ready for real users.