Setting up push notifications on iOS is slightly more difficult, since you need to properly configure your own secure certificates with Apple’s servers (APNs). On a high level, here’s what you need to do in order to enable push notifications on iOS: 1. Update your Server Key if you haven’t done so in the previous section 2. Obtain APNs certificates from Apple 3. Upload the .p12 certificate to Firebase This is general setup, and it’s not specific to our templates. You can follow the official Apple’s documentation to set up your APNs, if you run into any issues. Otherwise, you can just follow the next steps:
- Head over to Apple, click “Account” and log into your developer account.
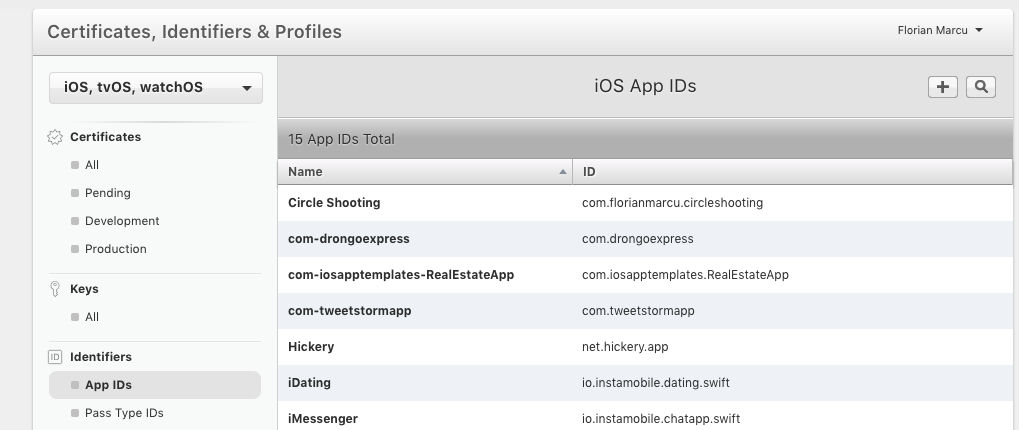
- In the left menu, select “Certificates, IDs & Profiles“
- In the Identifiers section menu, select “App IDs” and click the “Add New App ID” button
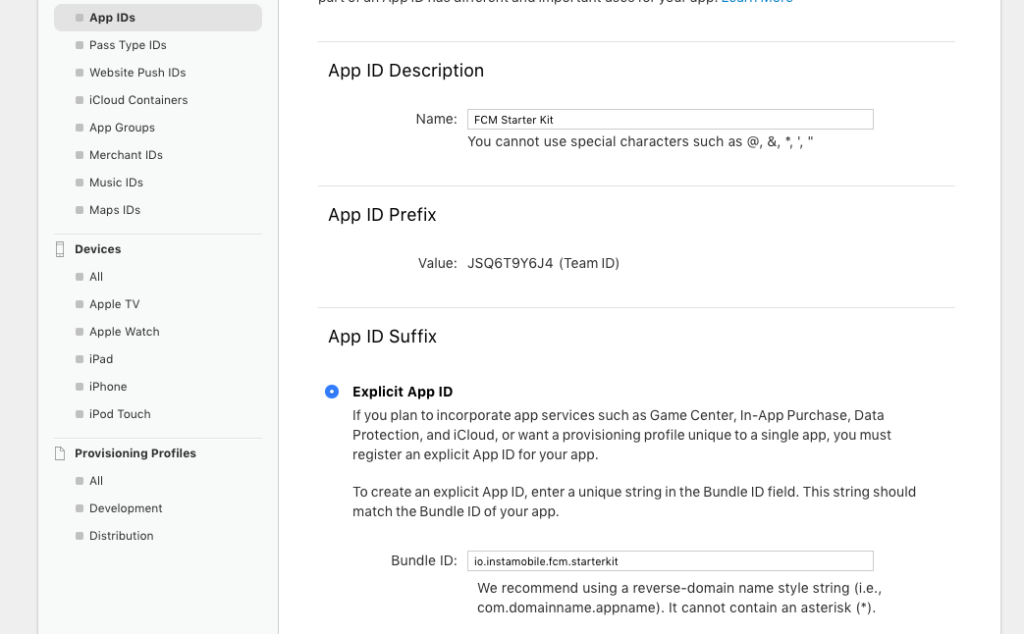
- Fill out App ID Description & Bundle ID fields. Check “Push Notifications” and click “Continue“. The on the next screen click “Register”
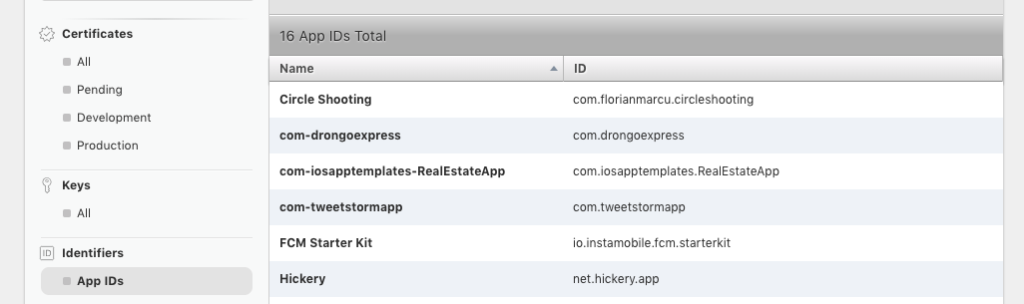
- In the new “App IDs” list, select the newly created App ID and click “Edit“.
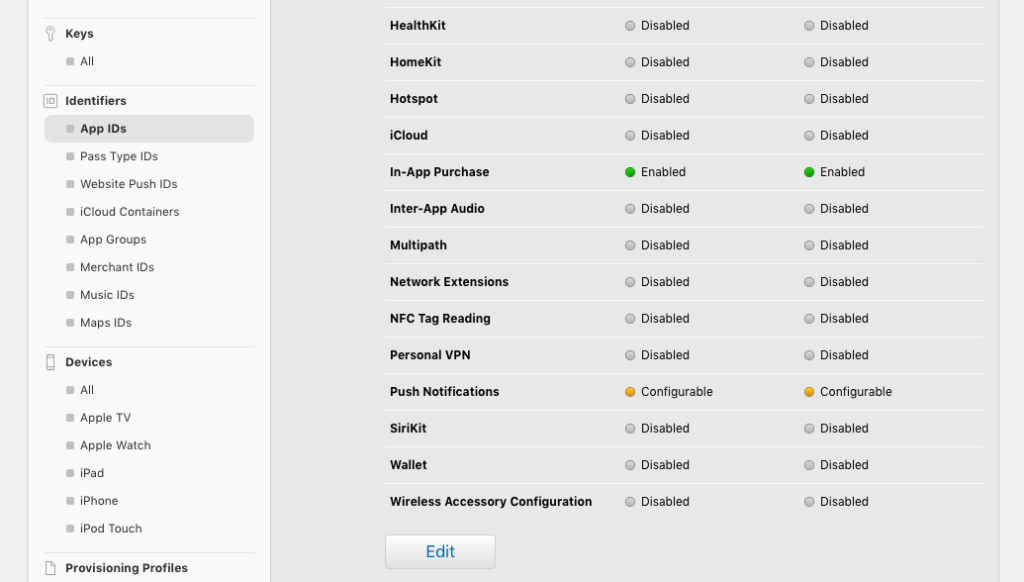
- Scroll down to the “Push Notifications” section and click on “Create Certificate” (you’re good with Development SSL Certificate for now) – you’ll create the other one only when you submit your app to the App Store
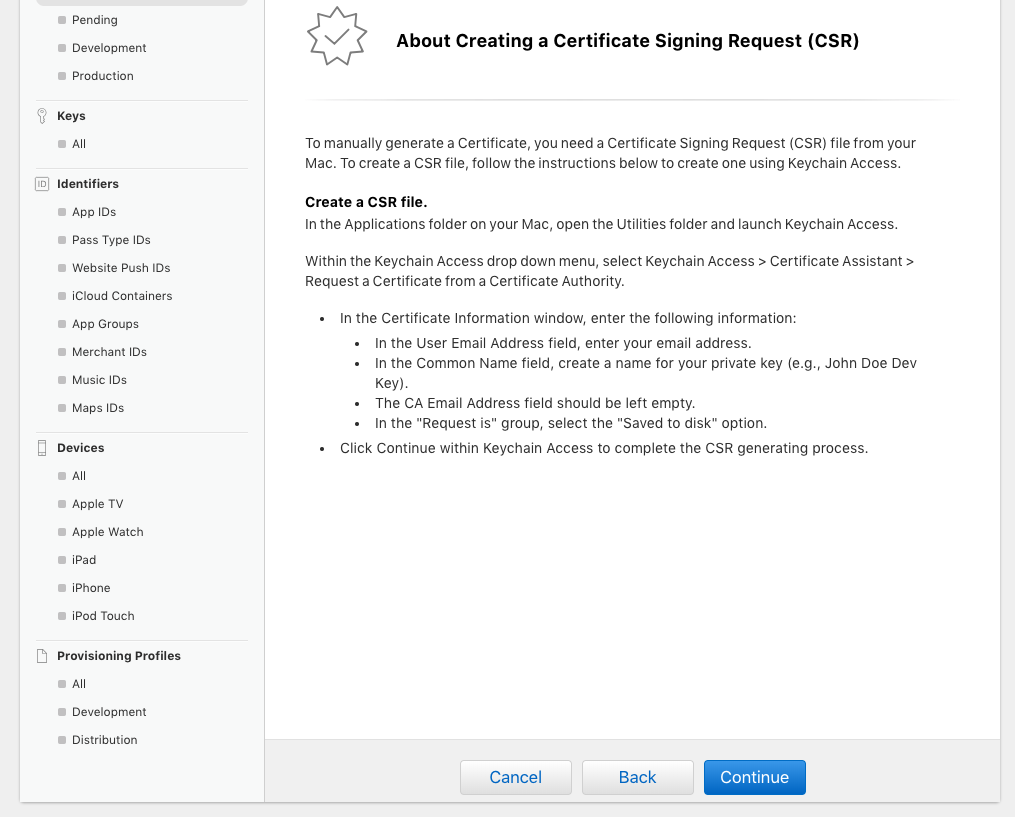
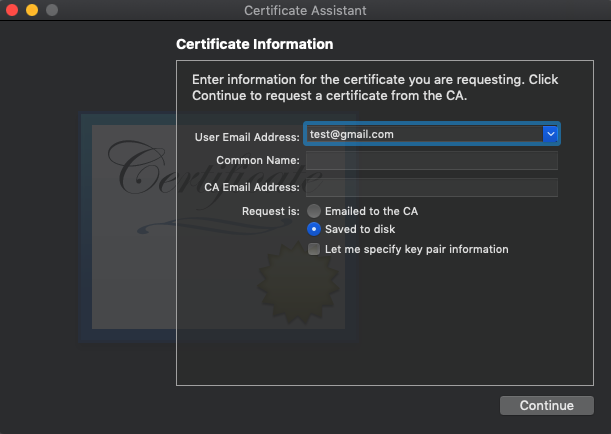
- Follow the instructions for creating a CSR certificate from a Certificate Authority, using Keychain Access app on your laptop. And then click “Continue”
- In the next screen on Apple’s website, upload the certificate you’ve just saved to disk. If you’re getting an “Invalid Certificate” error try removing all the expired certificates in your Keychain and re-create the CSR from the previous step. Now you should have a certificate created – download and store it securely on your laptop (the file extension is .cer).
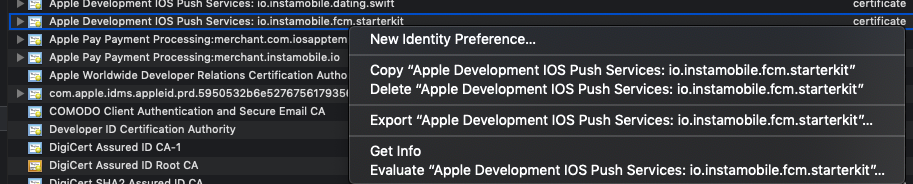
- Then, open the .cer file (by double-clicking on it) and add it to your Keychain. Once in Keychain, right-click on the certificate and then choose “Export“. This will create a .p12 file for you (you can choose an encryption password as well for extra security)
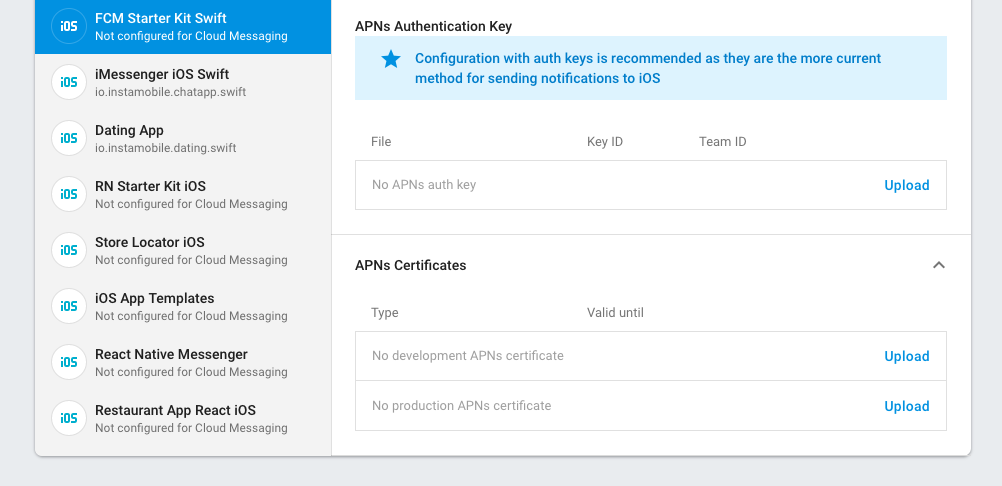
- In Firebase, locate your app and go to Project Settings -> Cloud Messaging tab

- Locate the “APNs Certificates” section and upload the .p12 file you’ve generated previously. If you used a password, you also need to type it in the password field. You can use the same certificate for both production and development.
After completing all these steps, including the ones in the previous section, push notifications will start working on iOS devices too. Make sure you rebuild and rerun your apps after the changes.