All of our premium React Native templates come with built-in support for localization and RTL. This means that making the app compatible with and translating it to any language is trivial (as long as you have someone who speaks that language, of course). In this article, you’ll learn how to add support for a new language.
1. Create a translations file
For each language that you want the app to support you need to create a translations file.
1.1 In src/translations folder, create a duplicate of the en.json file.
1.2 Rename this duplicate file with the language code (ISO 639-1 column). For example, for Spanish, the file will be “es.json”, for French, the file will be “fr.json”, and so on.
1.3 Translate all the texts into that language The file acts as a dictionary, containing keys (which are in English and should remain untouched) and values (the translation – which needs to be in the new language). For example, this is how the English file looks like: 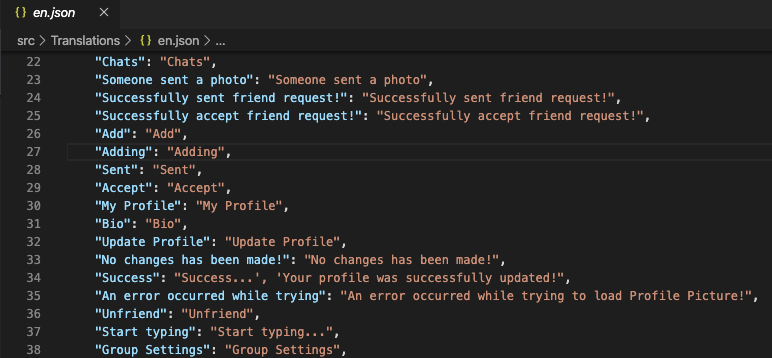 And this is how an Arabic file will look like, as an example:
 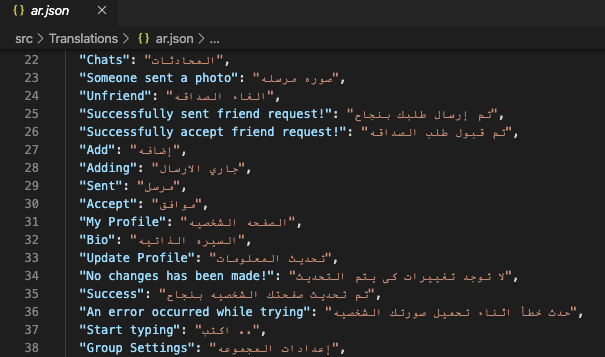 Keep in mind, that every time you add a new string, you need to add the correct translations in all files (all supported languages), otherwise that string will be displayed in English.
2. Add your new language to the list of supported languages
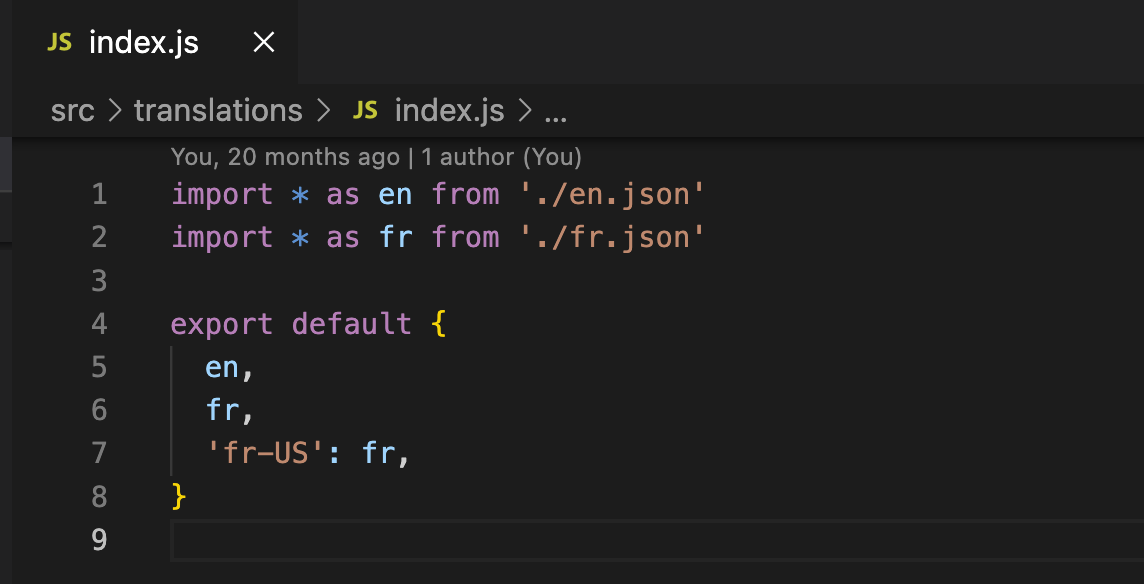
Open src/translations/index.js file and add your new language code mapped to the translations file you created previously as follows:
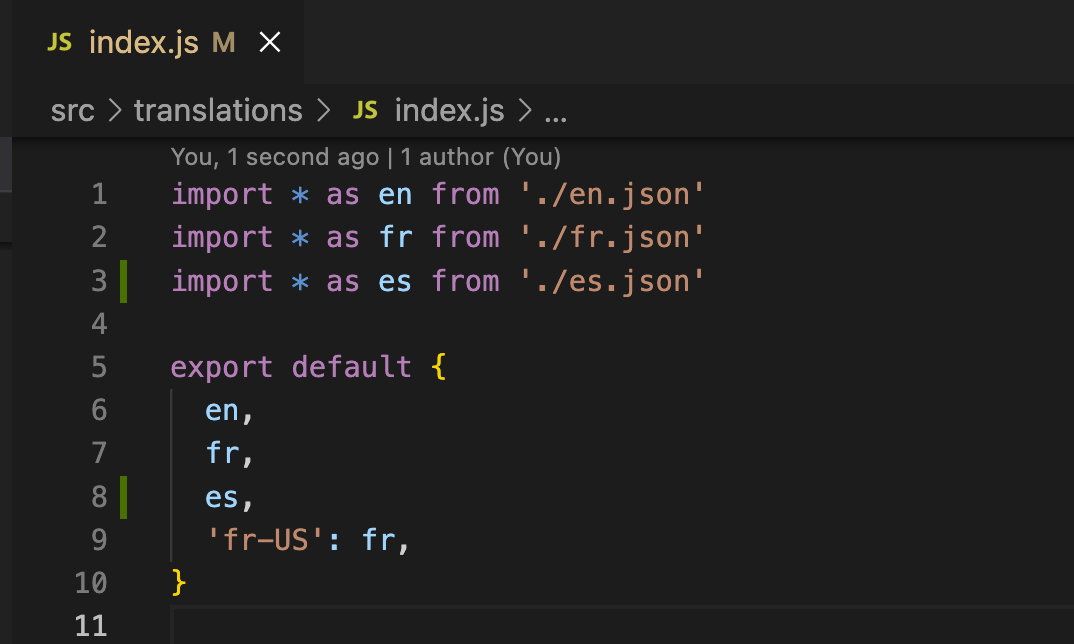
For example, if you want to add Spanish (assuming you already created the es.json file at the previous step), your translation getters will looks like this:
Now build and run the app again (restart the metro bundler too). Change your device settings to the new language and the entire app will be displayed in that language. Pretty cool, right?